Cleaning a fan is a pretty straightforward process yet people tend to overcomplicate it and avoid doing it.
There are a ton of benefits of frequent cleaning such as better efficiency, longer durability, and a lot more that keeps your fan in a “brand new” mode.
I’ll reveal later some equipment that will speed up your cleaning process and save you a ton of energy.
Now, follow these steps when cleaning a fan.
What You’ll Need
- Vacuum cleaner
- Screwdriver
- Detergent mix or foam cleaner
- Dishwashing liquid
- Compressed air
- Towel
You’ll see how you’ll use each one later in the article
How To Clean A Fan (Step-by-Step Explained)
Step 1: Safety comes first
Before you even start cleaning, please understand that safety should be your number one priority.
Turn off your unit and unplug it from the wall. If you have a fan that runs on batteries, simply remove the batteries.
This step is crucial and it should never be skipped.
Step 2: Remove the screws
Grab a screwdriver (we mention the best one below) and lose the screws holding the steel grate.
There are more advanced fans that have clips that hold grates in place, so make sure to remove those as well.
📍 Tip: Make sure to put all the screws in a small box, so you don’t lose any of them (I had to learn this the hard way)
Step 3: Remove the blades
There should be a blade cap that holds the blades to the motor, go ahead and unscrew it and remove all the blades.
Don’t forget to be cautious as you don’t want to damage blades because it will have a huge effect on the functionality of your fan.
Make sure when you remove the blades that they aren’t in any “uncomfortable” position which might bend them or break them.
Step 4: Make your “magic mix”
You need to create your own mix that you will use as your cleaning solution.
Pour two cups of water and mix it with a teaspoon of detergent or dishwashing liquid. Shake that inside a spray bottle and you’re ready to go.
You can also add baking soda inside that mix because it’s known to help when dealing with dirt and dust.
📍 Tip: Save yourself time and trouble and grab a highly-effective foam cleaner.
Step 5: Action time
In all the steps before it was a planning process, now it’s time for real action – the cleaning part.
Take the blades and wire housing and put them into a bathtub.
First, spray with your cleaning mix and leave it like that for a couple of minutes, so the mix can “eat” all the dirt and dust.
Now, take a towel and wipe everything down.
✍️ Note: Don’t put any electrical parts in the water.
Step 6: Wash & Dry
Wash every component once again and use a towel to speed up the drying process.
If there’s a sun, place the disassembled parts in the sunny area and leave it like that for an hour.
Make sure that every component is fully dry before you reassemble them.
Step 7: Use A Vacuum Dust For More Efficiency
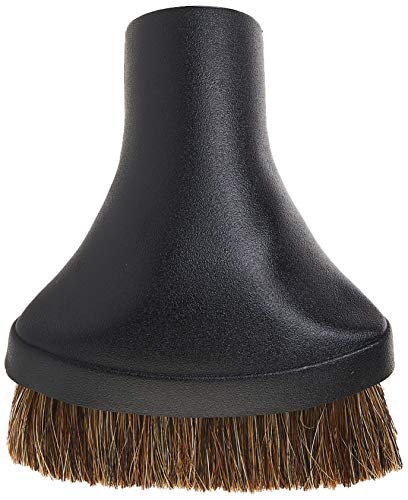
This is a more advanced step if you want to increase the cleaning efficiency. Just use a vacuum dust brush to remove the dust that might be stuck there.
I have personally noticed better results when I started using this brush.
When you’re cleaning your fan every month, it’s most likely that there will be dust that is stuck.
Step 8: Reassemble
If you’ve done all the steps, simply reassemble the fan the same way you disassembled it.
Make sure there are no small parts left behind after you reassemble it.
Just follow the saying “What goes around, comes around” 🙂

Download this FREE cheat sheet to find 28 tricks that can help you save on your electricity and heating bill each month.
Click here to get a FREE Cheat-SheetHow Long Does It Take To Clean A Fan?
Cleaning a fan is a straightforward process and if you follow the steps above, it shouldn’t take more than 7 minutes (don’t count the drying).
Even if you take things slowly and be extra careful, it should take you about 15 minutes for your fan to look brand new.
Of course, creating your own cleaning mix would take more time, so I recommend using as many “shortcuts” as you can.
Skill Level
Unlike cleaning window-mounted air conditioners, you don’t need any experience or professional help to completely clean your fan.
It’s the same as building Lego, so I believe every teenager could disassemble and clean a fan.
Although there’s a little-to-no skill needed, you will still need some equipment to start with.
Recommended Equipment
1. Klein Tools Multi-Bit Screwdriver
You will need a screwdriver to remove the screws and blades before you clean them.
My honest recommendation is Klein Tools as their screwdriver comes with a couple of extensions and it has an amazing grip.
It’s Amazon’s best seller and I don’t doubt its rating.
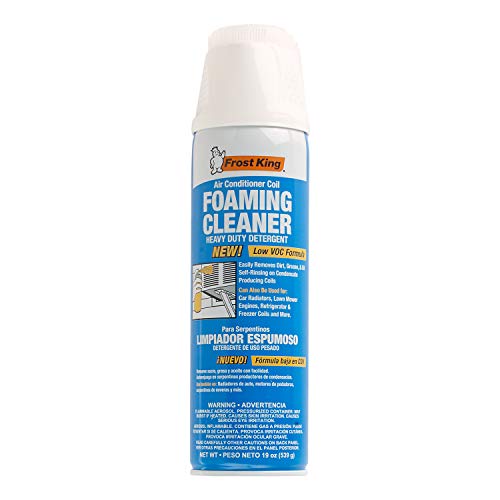
2. Frost King
Save yourself time, energy, and health, and go with Frost King instead of making your own detergent mix.
I have used Frost King for more than 2 years and it’s a lot better than homemade mix and all you need to do is spray it on the surface.
3. Cen-Tec Vacuum Dust Brush
If you want to increase the cleaning efficiency, you should definitely use this vacuum dust brush as it will clean all the dirt and dust stuck on the fan.
This will maximize the effect and you will have a “brand new looking” fan in no time.
How Often Do You Have To Clean A Fan?
It all depends on how frequently you use it and how much dust it collects on a weekly basis.
If there are four or more members living in the house, I would advise you to clean it weekly or bi-weekly at least. When there are more family members, it’s most likely that the fan will operate more often.
The type of your fan plays a big role, so you should learn more about the fan you’re using.
You can also clean it each month if you see that there isn’t a lot of dust collected.


Download this FREE cheat sheet to find 28 tricks that can help you save on your electricity and heating bill each month.
Click here to get a FREE Cheat-Sheet


![How To Remove A Ceiling Fan [Quick & Easy Guide]](https://homecaprice.com/wp-content/uploads/How-to-remove-a-ceiling-fan_-768x512.png)